In many ways, the sink is the centerpiece of the kitchen. From washing dishes, to food prep, to simply getting a glass of water, our kitchen sinks are used daily for a wide variety of applications. It’s important to pick a style that will work best for you.
In this article, we’re talking sink mounts—that is, the way that a particular sink is installed. While it might seem like a minor point, the way a sink is mounted changes a lot about how it functions and how it looks. It can even affect what you can do with your sink. And if you’d like to install your own kitchen sink (or just want it to be easy to repair) the way the sink is mounted just might be the most important factor.
Types of kitchen sink mounts
There are really three types of mounting systems for kitchen sinks: undermounts, drop-ins (top mounts), and apron-front styles. Each has mounting style has its pros and cons, especially if you’re looking to DIY or if you’re remodeling with the intention to sell your home.
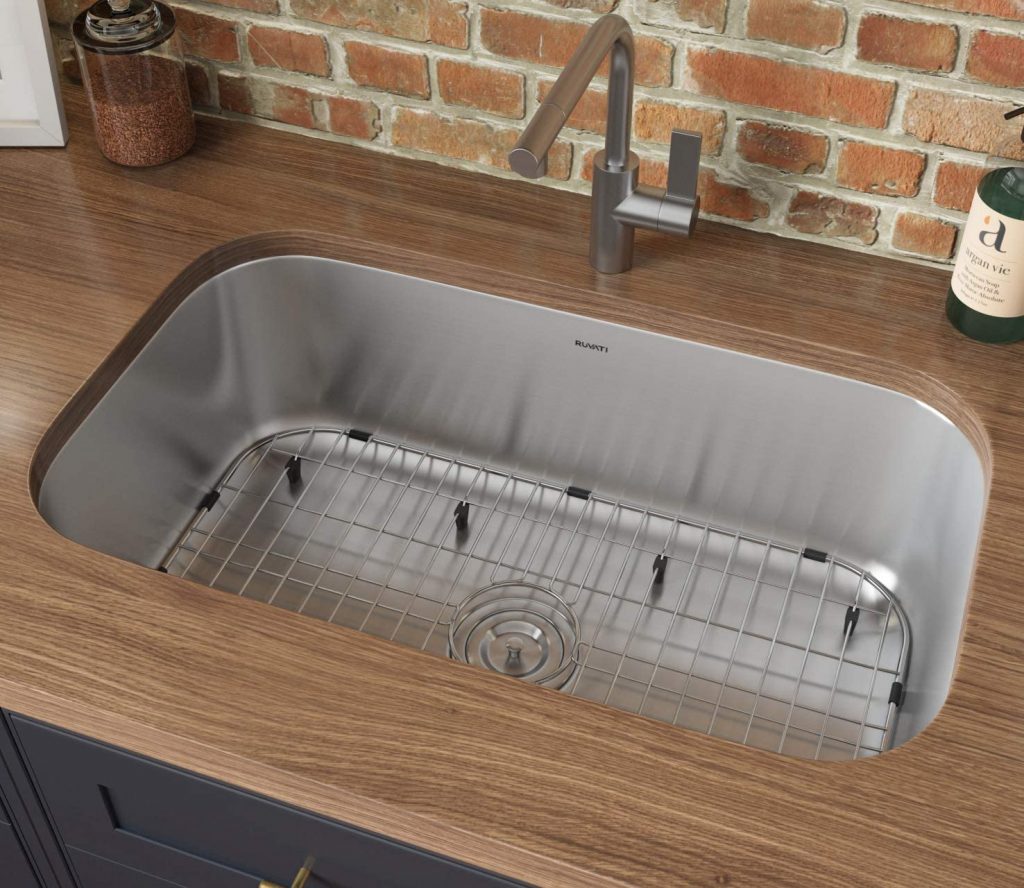
Undermount sinks (a.k.a., no rimming sinks)
Whether you’re looking to update your kitchen with the latest, sleekest design elements on the market or just want to make a significant fixture upgrade, you should consider an undermount sink. In terms of appearance, you often can’t beat an undermount sink, and they have great resale value. Before you run out and buy one, though, understand they come with several caveats.
First of all, they should only be installed with more solid, heavy-duty countertops, such as natural stone or engineered quartz. The fragility of other countertop materials is not well-suited to how these sinks need to be mounted, so if you’ve got laminate countertops and plan to stick with them, undermount sinks are probably out of the question.
These sinks are also harder to install and can present some annoying maintenance issues down the line if you need to remove the sink temporarily.
On the plus side, undermount sinks save countertop space and you will sometimes even get a larger basin because none of the sink’s shape is being wasted on trying to make a practical and attractive rim. Undermount sinks still have a rim—that’s what’s pinned to the underside of the countertop—but it’s usually just a flat piece of material ideal for attachment.
In the past, these sinks have had a mixed reputation, largely because they used to be more difficult to install well, even for professionals. A few years after installation, some would begin to separate from their countertop. But in the last decade or so, the mounting systems for undermount sinks have improved greatly. As a result, they make up the bulk of the kitchen sinks available on the market today, though top mount sinks remain very common, as well.
Cost: Generally more expensive than drop-in sinks, but a lot comes down to materials.
Installation: More difficult, not a good DIY project. Luckily, with the improvement of mounting systems for these sinks and the rise in their popularity, installation costs are now very competitive. They generally only cost $50-$100 more than a drop-in sink to have professionally installed.
Appearance: Sleek, prioritizes the look of your countertops. The “in” look right now. If you’re remodeling your kitchen to increase its resale value, an undermount sink is the way to go if you’re aiming for a modern style, even if you personally wouldn’t want one.
Cleaning: Better for cleaning countertops, making these ideal for when you have a countertop that can be delicate, such as real granite or marble. There is, of course, still a connecting point between the counter and the sink, however. This crevice can be hard to clean, and it is a point of complaint with this mounting style.
Maintenance: More difficult to maneuver. While not usually a problem, in cases where you need to remove the sink for plumbing or other fixes, it’s going to take more work, and therefore often more money. Along with metal clips, some undermount sinks make use of strong adhesive to hold them in place; this can be tricky and costly to remove.
There’s more than one way to undermount a sink
Nearly all undermount sinks have or can have neutral reveals. This means the sink’s edge is flush with the edge line of the countertop. There are a couple of alternatives to this, however.
Positive reveal undermount sinks have a small sink lip that extends out from the bottom edge of the counter. For undermount sinks that have a large enough rim for mounting, positive reveals can even be achieved by simply cutting a slightly smaller hole in the countertop when fitting the sink.
When the countertop’s edge actually extends over the edge of the sink, this is known as a negative reveal. You’ll almost never see a negative reveal in a kitchen. They’re not common in general, but you may sometimes see them in bathrooms.
If this is an important factor for you, consider buying your kitchen sink in person instead of online. It’s far easier to find sinks that are intended for neutral reveals than positive or negative ones, so you’ll likely need a salesperson to help you.
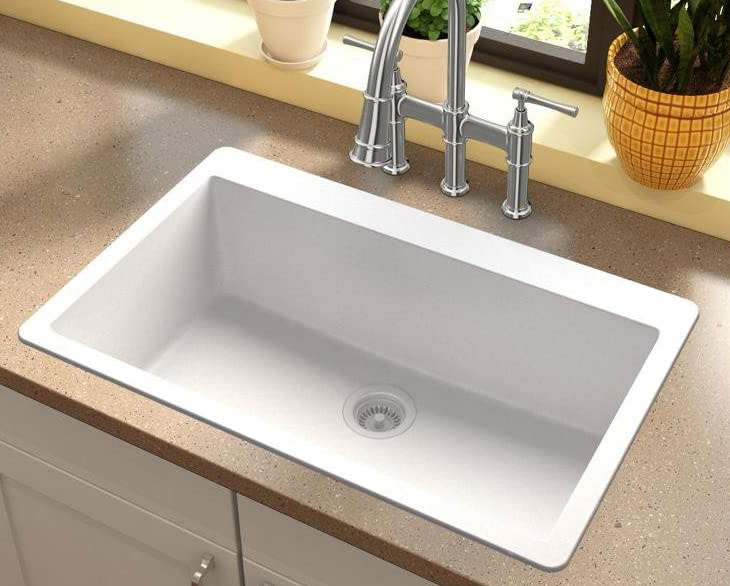
Drop-in sinks (a.k.a., top mount sinks, self-rimming sinks)
Drop-in sinks are what they sound like: they drop into place in a hole cut into a countertop. They have a visible lip or rim, sometimes called a flange, that hugs the top of the counter. Beneath the counter, they’re secured with metal clips, though the heaviest sinks—think cast iron—may not require this step, as their weight alone holds them in place. Silicone caulking is then applied to the edge of the sink basin’s underside, sealing it to the counter.
The major advantages to these sinks is they’re more affordable, easier to install, and easier to move for maintenance tasks. The downside is many don’t look as modern and sleek as undermount sinks. That doesn’t mean there aren’t plenty of modern-looking drop-in sinks. It just means you may have to hunt around more.
Cost: More affordable than undermount and farmhouse/apron-front sinks.
Installation: Not much cheaper to have installed than an undermount sink. However, if you’re planning to do it yourself, drop-in installation is much easier for an untrained person.
Appearance: Standard. You will have seen this kind of sink many times throughout your life. Prioritizes the look and function of the sink over that of the counters.
Cleaning: Better for cleaning the sink. Easier to recaulk if there are any issues, though the seam between the sink and the surrounding counter can accumulate grime.
Maintenance: Somewhat difficult to maneuver, but much easier to remove and replace than undermount sinks.
Don’t miss out on the purpose of drainboards
While most drop-in sinks try to take up as little counter space as possible with their rims, some actually extend farther on one side with a ridged piece called a drainboard.
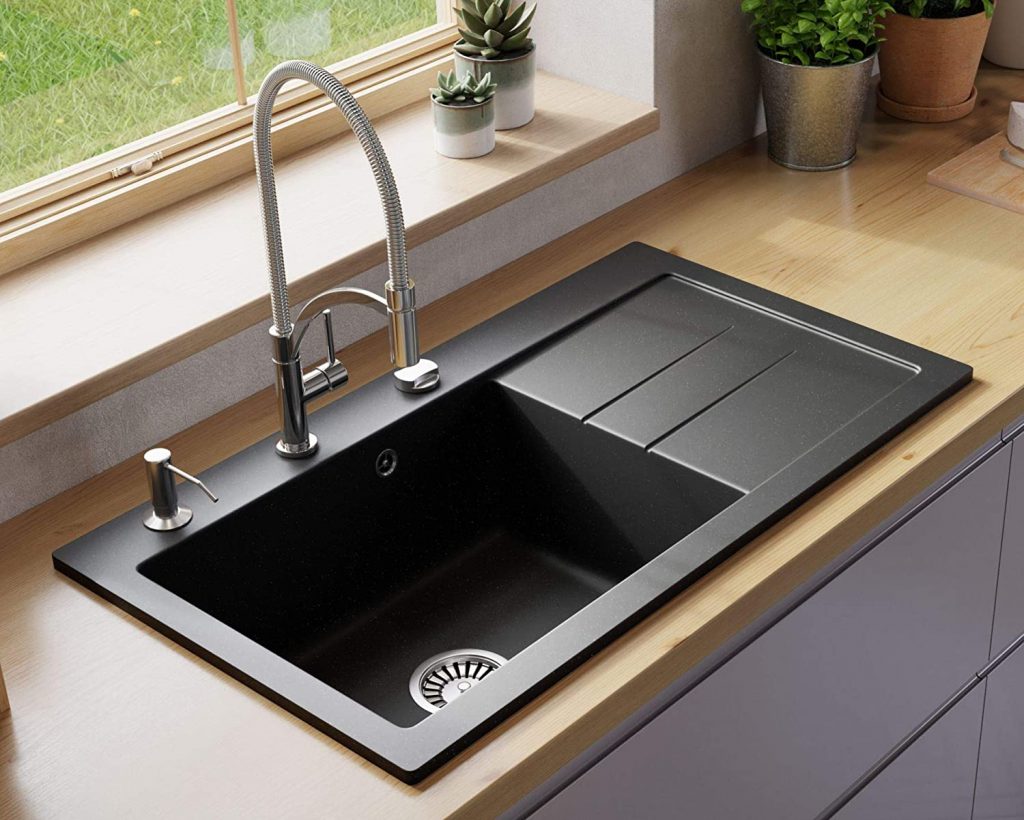
See American-made Lavello’s 24-inch Luxor granite composite drop-in sink and drainboard.
At first glance, this slightly unsightly feature doesn’t have much purpose. Look closely, though, and you’ll see that drainboards are often subtly slanted, allowing water to drip down into the sink. This makes for an ideal sink-drying area that is easy to keep clean.
Drainboards are great if you don’t have a dishwasher or simply prefer washing dishes by hand, but they do take up counter space without giving you any extra sink basin. Moreover, the resale value of these sinks may be poor simply because they are often less beautiful. If you’re remodeling a kitchen with the purpose of selling your home in mind, skip the drainboard sinks.
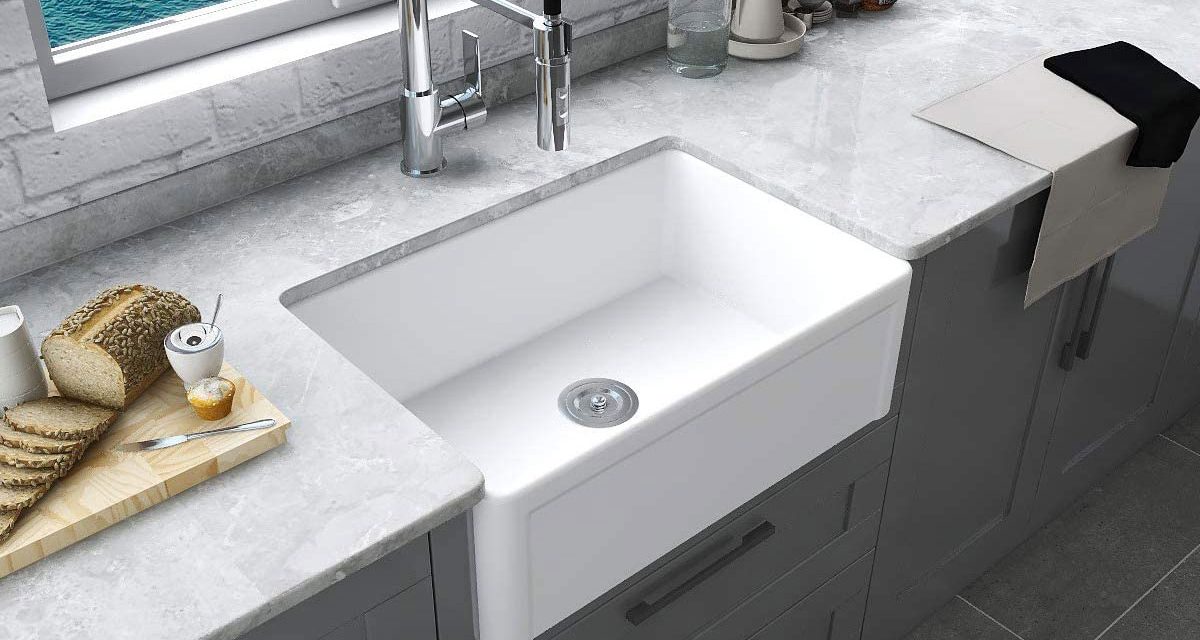
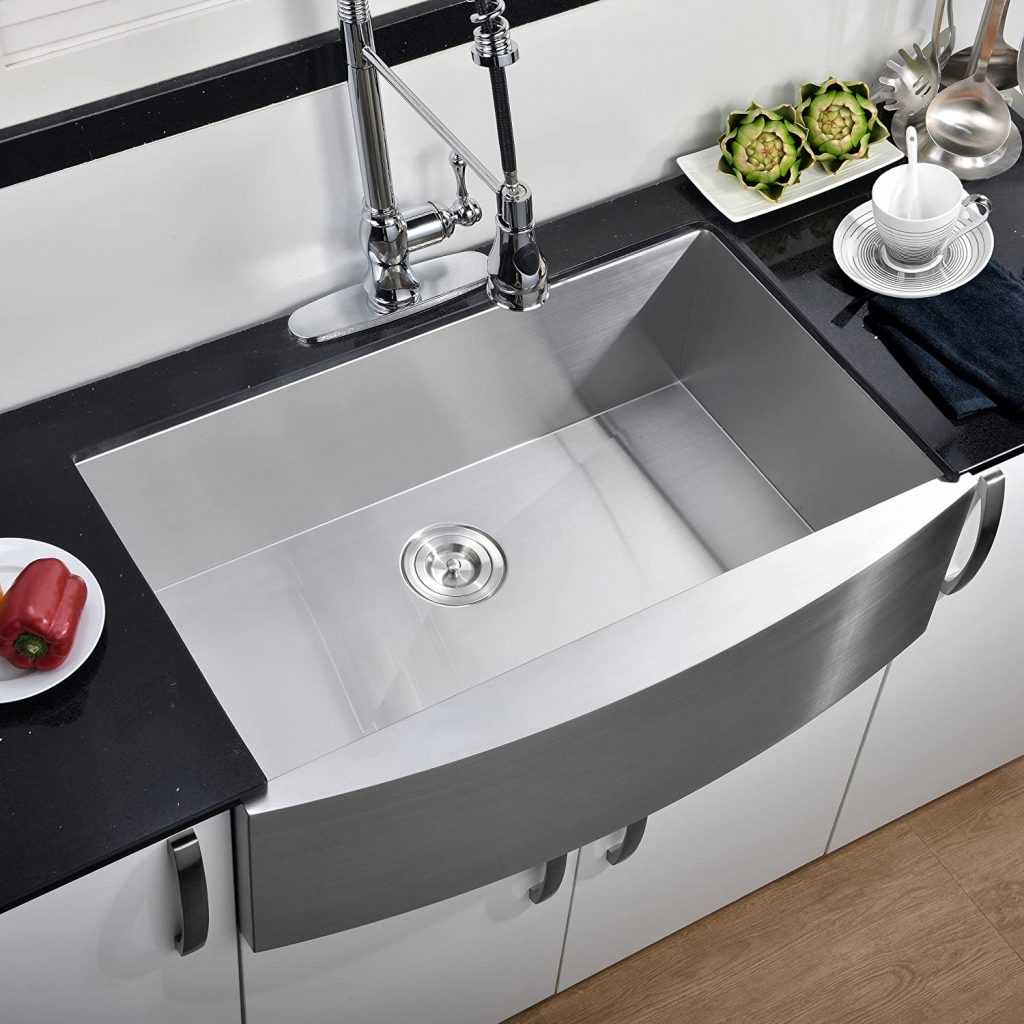
Farmhouse sinks (a.k.a., apron-front sinks)
If you like traditional styles or are looking to improve the capacity of your sink without sacrificing counter space, consider a farmhouse, or apron-front, sink. Unless these sinks are in stainless steel, they often add a classic, old-world feel to a kitchen, while also providing a number of convenient features.
The term for these sinks and their mounting systems can be confusing because farmhouse and/or apron-front typically refers to the style, but they are often mounted differently, too. While some can be undermounted and a few can be drop-in, many require additional support, independent of the counters, usually in the form of internal framing and/or a platform within the cabinetry.
Once this is in place or otherwise planned, however, the installation of most farmhouse sinks is similarly easy to that of a drop-in sink. You simply slide the sink onto the platform or framing support. From there, it will extend outward along the front, past your cabinetry—thus the “apron-front” naming.
These sinks tend to be especially deep, and the few extra inches in the front really make a difference for tasks in the sink that need a lot of room. They’re great if you have a large family and don’t have a dishwasher, or if you prefer to do a lot of prepwork in your sink.
Cost: More expensive than drop-in or undermount sinks.
Installation: Fairly complicated. Unless you’re replacing a farmhouse sink with another farmhouse sink, you’ll have to significantly adjust your cabinetry. This would make for a very complicated DIY job. That, combined with the greater weight of farmhouse sinks, means you’ll probably have to hire a professional.
Appearance: Apron-front sinks make a great statement piece. They’re especially nice in early 20th-century farmhouse-style kitchens, but there are a variety of contemporary designs available, too. Material might be most important for this style of sink, since you’ll be able to see so much of it.
Cleaning: Better for cleaning the sink, though the seam between the sink and the surrounding counter can be a problem, just as with undermount sinks.
Maintenance: More of the sink material is exposed in this style, so high-maintenance materials mean high-maintenance sinks. However, the farmhouse sink’s design will prevent more splashes and drips from running down your cabinets, which may help them last longer. Farmhouse sinks are easier to maneuver and remove than undermount or drop-in sinks since you can slide them out of the counter after unhooking the plumbing.
Integrated sinks
Integrated sinks, also known as integral sinks, are built into the surrounding countertop. For some materials, this means the sink and the counter space are poured together in the same mold during manufacturing. For others, the entire structure is cut as one piece.
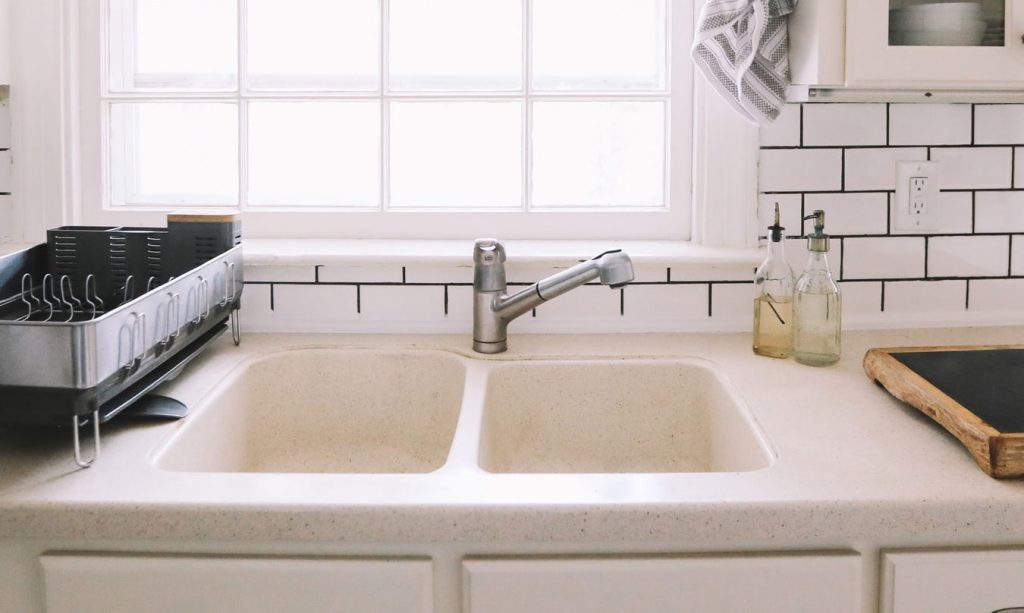
An example of an integrated sink. Public domain photo by House Method.
Instead of purchasing a sink that then needs to be installed, you may have to commission a fabricator for an integrated sink. This means you’re likely to have far more customization options than with other kinds of sinks, but prices will rise commensurately and the quality of the end product will be determined primarily by the skill of the fabricator.
Cost: This is generally the most expensive kind of sink, with prices varying dramatically depending on style and materials. Fabricators will likely give you an estimate according to dollars per square foot.
Installation: Integrated sinks are by definition a single piece that includes the surrounding counter space. Unless you’re willing to replace a section of countertop, these sinks will be impossible to install in a kitchen yourself. You’ll almost certainly need a professional. These sinks are best when you’re already planning on renovating your kitchen.
Appearance: Integrated sinks are smoothly cohesive with the countertop. Because of this, available materials will be more limited. Ceramic, stainless steel, composites, and concrete are the most common materials for this kind of sink. Keep in mind that whatever material and style you choose, the countertops will also reflect your choice.
Cleaning: Best for cleaning the sink. There are absolutely no crevices or rims to collect grime.
Maintenance: Extremely difficult to maneuver. If an integrated sink is seriously cracked, warped, or otherwise needs to be replaced, you will have to remove not only the sink but the surrounding countertop.
DIY kitchen sink installation
Thinking about DIYing your kitchen? We’ve got some advice.
- If you already have a kitchen sink, the easiest kind to install will be the same type as the one that’s currently mounted.
- Strongly consider a drop-in sink. Drop-in sinks are much easier to install than other styles of sink, and they’re easier to remove to repair.
- If you’d really like to go for a heavier material, consider a farmhouse sink. They can be a bit more difficult to maneuver than a drop-in, but once you’ve got one lined up, you can slide it right in, assuming you’re not undermounting it.

