The world of caulk might seem like a simple one, but dip your toes in and you might find yourself overwhelmed. WIth tons of materials, categories, and applications to consider, where do you even start?
In this article, we’ll break it down for you. We’ll talk about some terms that might be confusing, we’ll dig into different types of caulk and their applications, and we’ll even talk about the easiest ways to DIY.
Let’s start by untangling some terms.
Is caulk a sealant or an adhesive?
Caulk, sealant, and adhesive are terms that are often used interchangeably. You might wonder what the actual differences are, if any. Very basically, caulk is specifically designed to seal between mediums (types of material) or on corners. For tile sealing, for example, mortar is for under the tiles, grout is for between them, and caulk is for the line between the tiles and something else, such as a tub.
Some caulks are also called sealants. And some sealants are called caulks. A sealant, technically, is a type of material called elastomeric. This just means that sealants are considered to be elastic, like rubber, and can handle shifting in the substrates (the materials the sealant has been applied to) without cracking. True sealants will generally be called siliconized or have rubber in the name. Some manufacturers will refer to their higher performance caulks as ‘sealant’, but this is just a marketing term and doesn’t have any particular meaning.
Adhesives are specifically designed to bond surfaces together. Glue is an adhesive, for example, but some types of caulk can also be used as adhesives. The problem with the term adhesive is that it refers more to a specific use than a specific chemical makeup. The defining characteristic of an adhesive is that it’s strong enough to prevent its substrates from moving. This might sound like adhesives are the opposite of sealants, but some caulks (like silicone) can be used for both.
Ultimately, the use of the terms “caulk”, “sealant”, and “adhesive” aren’t regulated. Your best bet is to check the suggested uses and the reviews of a particular caulk/sealant/adhesive before purchasing anything.
Types of caulk and their uses
For caulk, the question of which type is best comes down to application. Caulk is a broad term, and caulks can be used for many different things. Often, one caulk can’t be substituted for another. Every caulk on this list has its uses and advantages, and we’ll break them down so you know which one you really need.
Silicone sealant
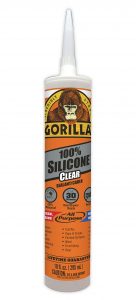
Silicone sealant is a gel that is 100% (or close to 100%) silicone. Though it can’t be painted and its most basic form is usually clear or white, it’s available in a wide variety of colors.
This is a very resilient caulk. It remains flexible even after it’s dried, so it’s very unlikely to crack. It’s also UV and mold resistant.
Downsides? Silicone sealant is somewhat difficult to apply, and some kinds can leave a bad smell while curing. To avoid this, look for odorless sealant, especially for indoor applications.
The gold standard of waterproof sealants, silicone sealant is generally preferred for bathrooms and kitchens, though it can be used outdoors as well. Pipes, fixtures, and tile edges are also commonly sealed with silicone sealant. It works on almost all mediums, though it’s not great for porous materials, like wood, and tends to stick badly.
While it is a strong adhesive, avoid using silicone sealant on anything load-bearing. Its flexibility can also cause it to tear.
| Silicone Sealant Features | |
|---|---|
| Uses: | Bathrooms and kitchens, plumbing fixtures, small holes in exterior walls, undermount sinks. Indoor/outdoor. |
| Cost: | $4-$7 per 10 fl. oz. (.3L) tube |
| Waterproof? | Yes, very. Silicone sealant is especially good for water-prone areas. |
| Paintable? | No, but there are prepared color options. 100% silicone sealant can’t be painted. A silicone caulk that claims to be paintable is either incorrect or not entirely silicone. |
| Long-term outlook: | Will last for a long time (20+ years) but this kind of caulk will almost certainly discolor over time. |
| Cleaning: | Clean with baking soda and vinegar, though be careful to not leave any cleaner on too long. |
Acrylic and vinyl latex (painter’s caulk)
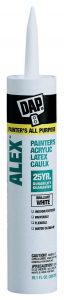
Acrylic and vinyl latex are rubber-like caulks. Keep in mind that the term latex here generally does not refer to natural latex rubber. Instead, this caulk is made out of an acrylic or vinyl base that has been designed to act like latex. Natural latex caulk is available, but is very uncommon, so latex allergies are unlikely to be an issue when applying or coming into contact with this caulk.
Like the name suggests, painter’s caulk is especially easy to paint, but it’s also available in a variety of colors, mostly designed to match plumbing fixtures.
Easy to apply, it works best for filling in gouges and cracks in interior walls, as well as for sealing drywall, wood, and masonry. It’s relatively durable and can last a long time. However, it isn’t suggested for kitchens or bathrooms, since it’s not as water resistant as silicone. It also tends to shrink worse than other kinds of caulk. For these reasons, be careful with outdoor applications, especially in areas that are prone to high humidity or direct water contact.
| Acrylic Vinyl Latex Caulk Features | |
|---|---|
| Uses: | Drywall, wood, and masonry. Filling in small gouges in interior walls. Crown moulding, baseboards, wood trim, and door frames. Indoor use only. |
| Cost: | $2-$5 per 10 fl. oz. (.3L) tube |
| Waterproof? | Not entirely. May be okay in moisture-prone areas as long as it’s been painted over. For superior water resistance, consider siliconized acrylic or siliconized vinyl latex caulk. This still won’t be as waterproof as 100% silicone sealant, but it is more flexible and longer lasting. |
| Paintable? | Yes. These caulks are specifically designed to be easy to paint. |
| Long-term outlook: | Can last 10-15 years, though less for water-prone areas. |
| Cleaning: | Can be cleaned with water. |
Polyurethane spray foam
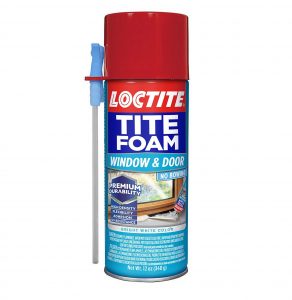
Polyurethane spray foam is a type of polyurethane (an organic polymer) that works as an adhesive and a sealant. Stronger than silicone, if not quite as water resistant, this type of caulk is great anywhere that requires good durability, and is especially popular for use around electrical outlets. It is mold and fungus resistant and can even prevent some infestations if you get a pest-resistant type, such as Great Stuff’s Pestblock.
Unlike other kinds of caulk, polyurethane spray foam actually expands when you apply it, rather than shrinking. It’s great for filling cracks, even in concrete foundations, since it can expand to fill the space it’s sprayed into. Because of its consistency, though, it can be harder to apply than silicone or siliconized caulks.
It’s also more difficult to clean and, due to its chemical composition, not as UV-resistant as other kinds of caulk, so keep in mind that it may not last as long exposed to direct sunlight. Polyurethane spray foam is off-white when new and tends to yellow with age, though it can be painted.
| Polyurethane Spray Foam Features | |
|---|---|
| Uses: | Driveways, high-traffic walkways, anywhere that requires good durability. Exterior pipes. Electrical outlets. Filling cracks in concrete foundations. Good for sound dampening. Indoor/outdoor. |
| Cost: | $4-$8 per 10 fl. oz. (.3L) tube or can |
| Waterproof? | Generally. If properly applied, this caulk is water resistant and can be used to prevent water from leaking into the home. |
| Paintable? | Yes, though it may take a few days before it’s dry enough. |
| Long-term outlook: | Broad range of lifespans (5-30 years) depending on location and wear. |
| Cleaning: | Cleans with water and gentle cleaners. Be sure to not leave any cleaners on polyurethane spray foam for too long, as it may soften. |
Hybrid caulks

Hybrid caulks are a combination of silicone and either vinyl latex or polyurethane. Because of this, these caulks tend to be a good compromise between the more specialized types. Hybrid caulk isn’t the easiest caulk to apply, but it’s not the most difficult either, since the silicone slows down the speed at which the caulk cures. The silicone also improves the caulk’s water resistance, while the latex or polyurethane allows it to be painted.
When looking for caulk online or at stores, you might notice there aren’t many caulks actually labeled ‘hybrid’. Instead, they will be called ‘premium’, ‘siliconized’, or ‘paintable silicone’. Some silicone/vinyl latex hybrids are called ‘tub and tile caulk’. You’ll have to check the ingredients of the caulk to be sure you’re really getting hybrid caulk.
Hybrid caulk can generally be used for the same applications as its components, though it is especially preferred for use on windows, doors, and vents. The only real downside of hybrid caulk is the price—it tends to be more expensive than silicone, vinyl latex, or polyurethane.
| Hybrid Caulk Features | |
|---|---|
| Uses: | Windows, doors, and vents. Indoor/outdoor. |
| Cost: | $7+ per 10 fl. oz. (.3L) tube |
| Waterproof? | Generally yes. |
| Paintable? | Yes, though they work best with water based paints. Oil based paints will require a primer. |
| Long-term outlook: | Great. Hybrid caulks offer the best of both worlds in flexibility, durability, and water resistance. Whether applied indoors or outdoors, these caulks are likely to last a long time. |
| Cleaning: | Cleans with soap and water. |
Butyl rubber caulk
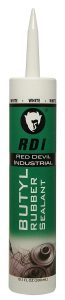
Butyl rubber caulk is the industrial standard for sealants and adhesives. It’s strong, durable, extremely water resistant, and can withstand extreme temperatures. A synthetic rubber, butyl rubber caulk is especially great for applications where the join is likely to expand and contract, such as with metal under a range of temperatures. It’s also best for shear joints, which are where two materials slide against each other.
The main downside of butyl rubber is that it is not good for indoor applications. Between potential fumes and flammability, this caulk is suggested for outdoor uses only. It’s also sticky and difficult to apply, and it shrinks substantially while curing. Because of this, as well as the toxicity of the materials involved, professional installation is suggested.
Removing butyl rubber caulk is especially difficult and may also require professional help, and all butyl rubber must be removed before an area can be caulked. Butyl rubber caulk is generally only available in black, white, or gray.
| Butyl Rubber Caulk Features | |
|---|---|
| Uses: | For industrial uses. Good for metal joints that are likely to expand and contract. Great for sealing gutters and roofs as well as filling cracks in external walls. Outdoor only. |
| Cost: | $5-$10 per 10 fl. oz. (.3L) tube |
| Waterproof? | Yes. Butyl rubber caulk is great for moist environments and outdoor applications, and there’s no sacrifice of flexibility for water resistance. |
| Paintable? | |
| Long-term outlook: | Good. Butyl rubber caulk stands up well to most wear. However, due to its chemical makeup, it generally lasts only 5-10 years. |
| Cleaning: | Harsher cleaners can be used to clean. |
Things to consider when buying caulk
In order to know which type of caulk is best for you, it’s important to think about the environment you’re going to be caulking. Does it come into contact with water? How about sunlight? Will it be exposed to harsh acids and solvents? Does it need to be strong enough to hold together? Does it need to look good?
If your caulk needs to join different materials (especially if one is metal), consider a sealant or elastomeric caulk. This is especially important in outdoor or plumbing applications that are likely to experience a wide range of temperatures.
Temperature and humidity, then, are important factors, especially in outdoor environments. Silicone and siliconized caulks as well as butyl rubber hold up best to humidity and cold both during application and long term. In fact, some types of silicone and polyurethane spray foam actually require humidity to cure. No matter what caulk you choose, though, read the instructions carefully to make sure you have the right environment to cure it.
Caulk, like grout, is available in sanded or unsanded forms. Sanded caulk, which contains fine silica sand, is often called ’tile caulk’. Generally, unsanded caulk is preferred, as it’s far less likely to scratch the materials you’re applying it to. But for the best structural stability, sanded is the way to go.
For additional stability, consider backer rods (or rope caulk), which provide structure to larger (more than 1/2-inch deep) joints. Caulk strips (or tape caulk) are peel-and-stick strips that can replace caulk entirely for places where stability and a tight seal are less important. They can also be laid on top of caulk lines for a neater finish without the need to carefully smooth the caulk down after applying it.
Caulk is also available in water and solvent based forms, and some caulks (like acrylic) are available in both forms. While solvent-based caulk is stronger and more durable, it’s also harder to work with and generally too toxic to be used indoors. Besides butyl rubber (a solvent-based caulk), most caulks available for home use are water-based. For most domestic applications, stick with a water-based caulk.
Color is another important consideration. White caulk is best for painting, while clear caulk is least noticeable. Otherwise, try to pick the color that best matches the materials around the caulk.
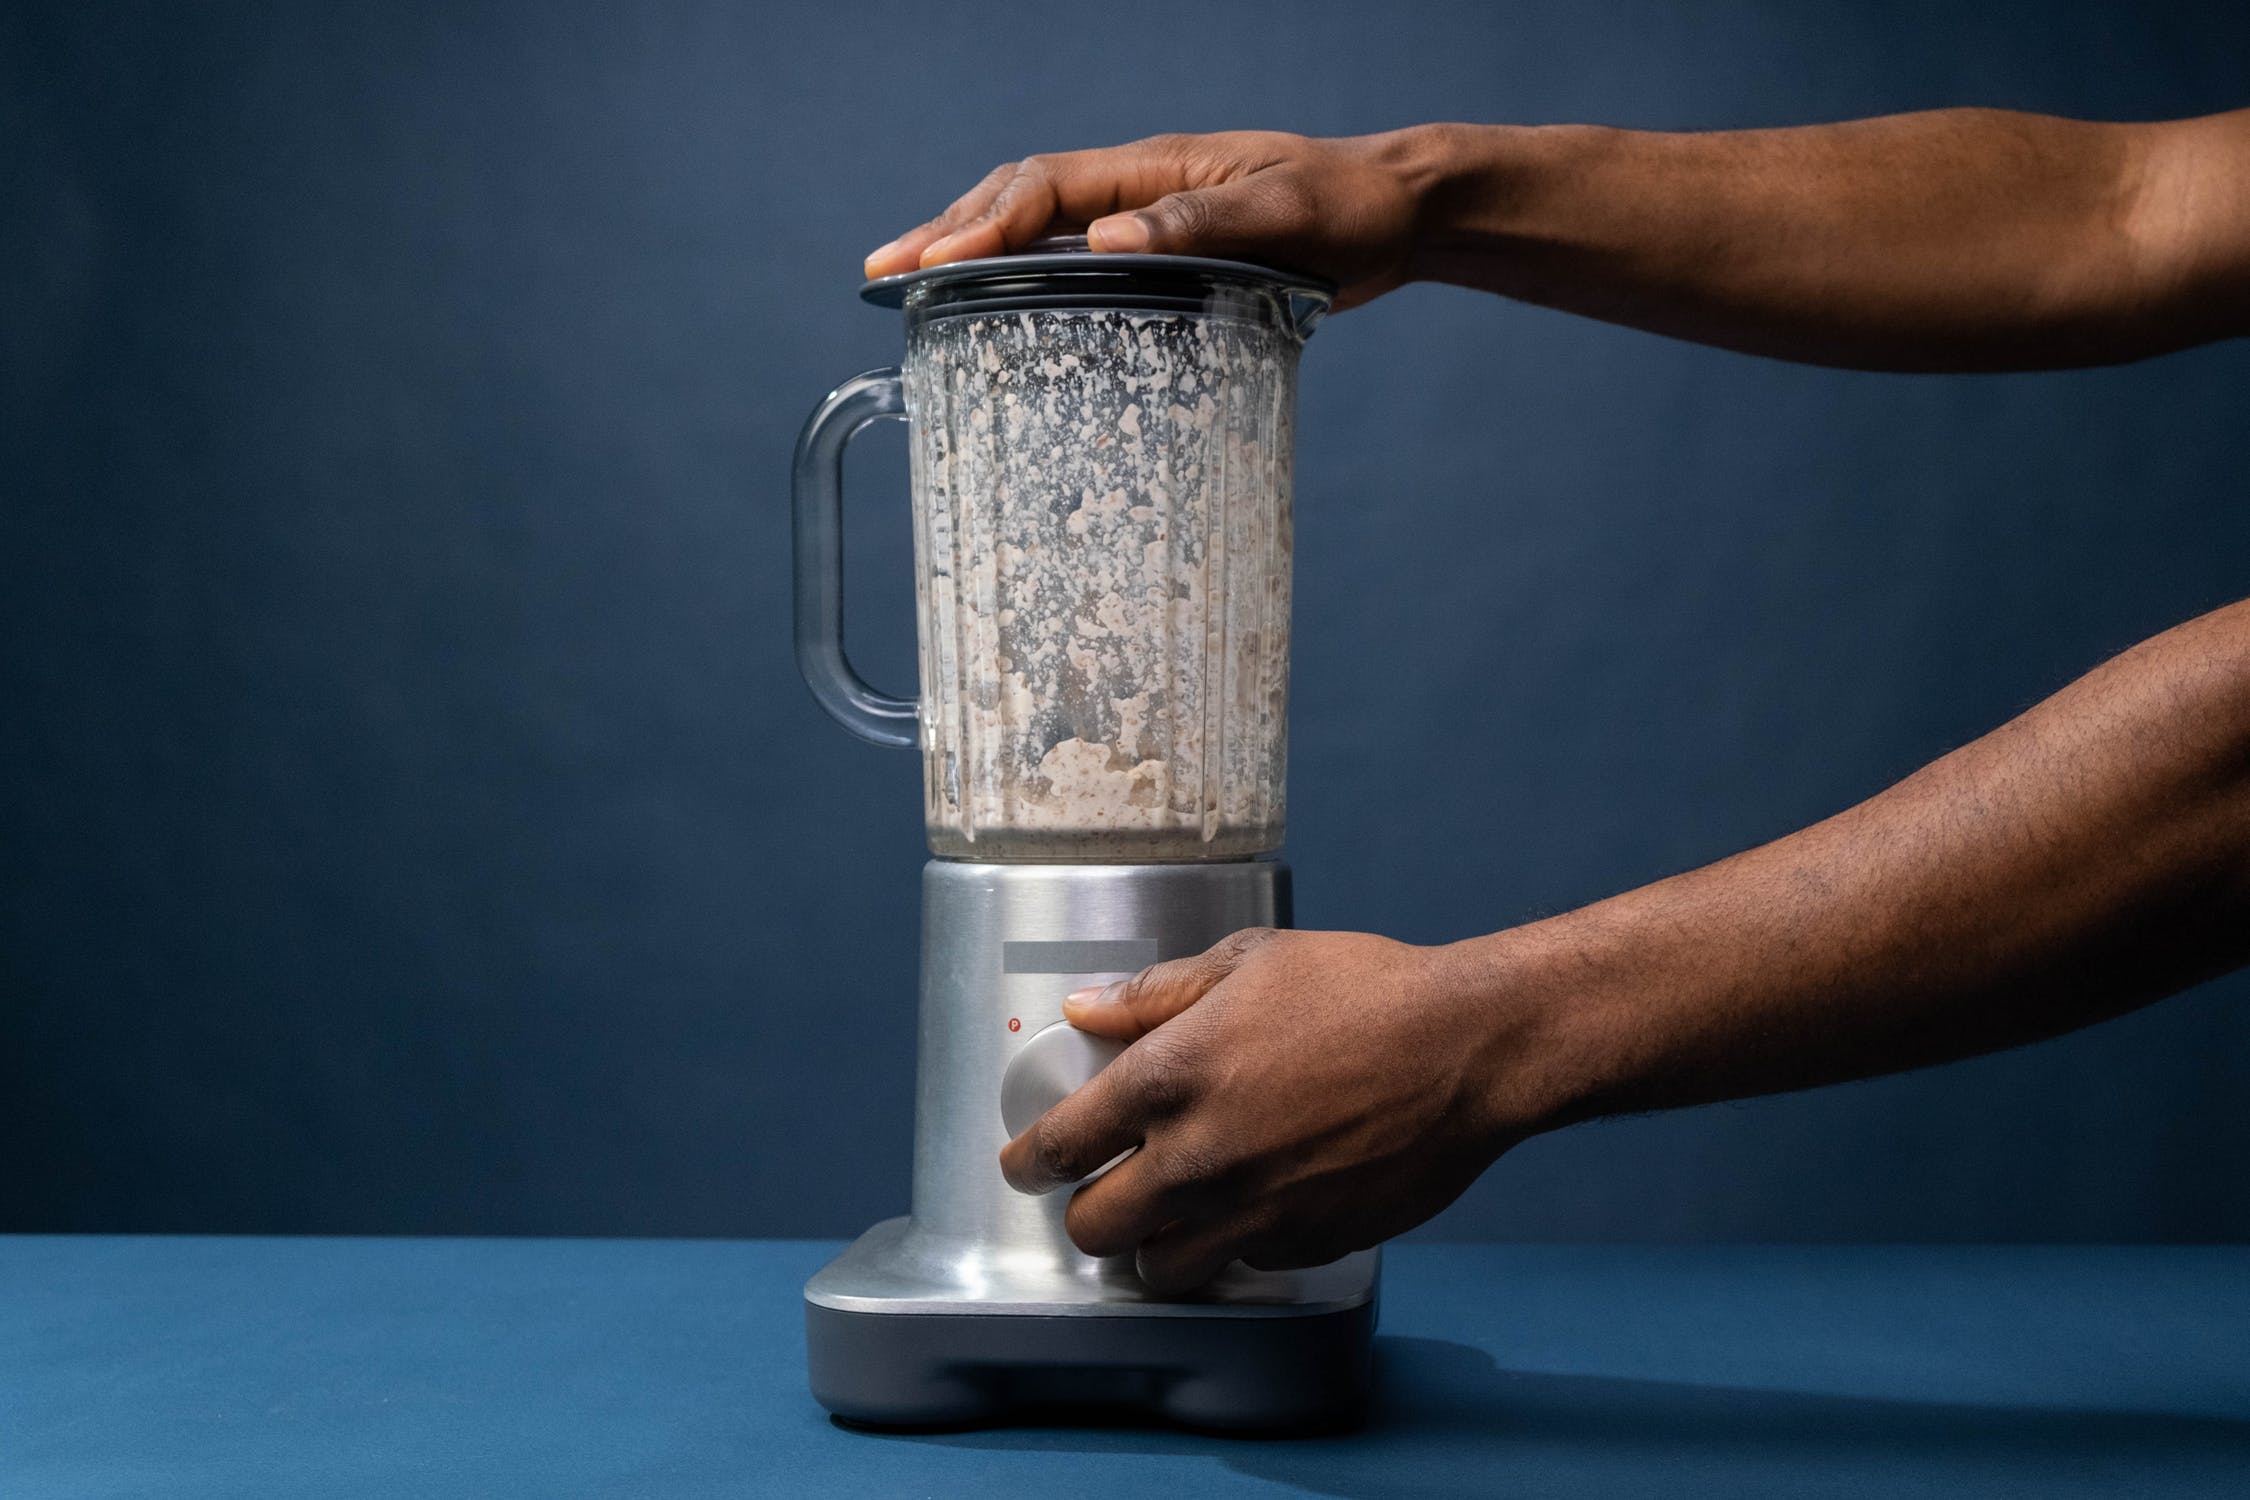
Caulking DIY essentials
The most important thing to keep in mind when using caulk is technique. Good technique not only leads to better looking, cleaner caulk lines, it also ensures the caulk performs as well as possible.
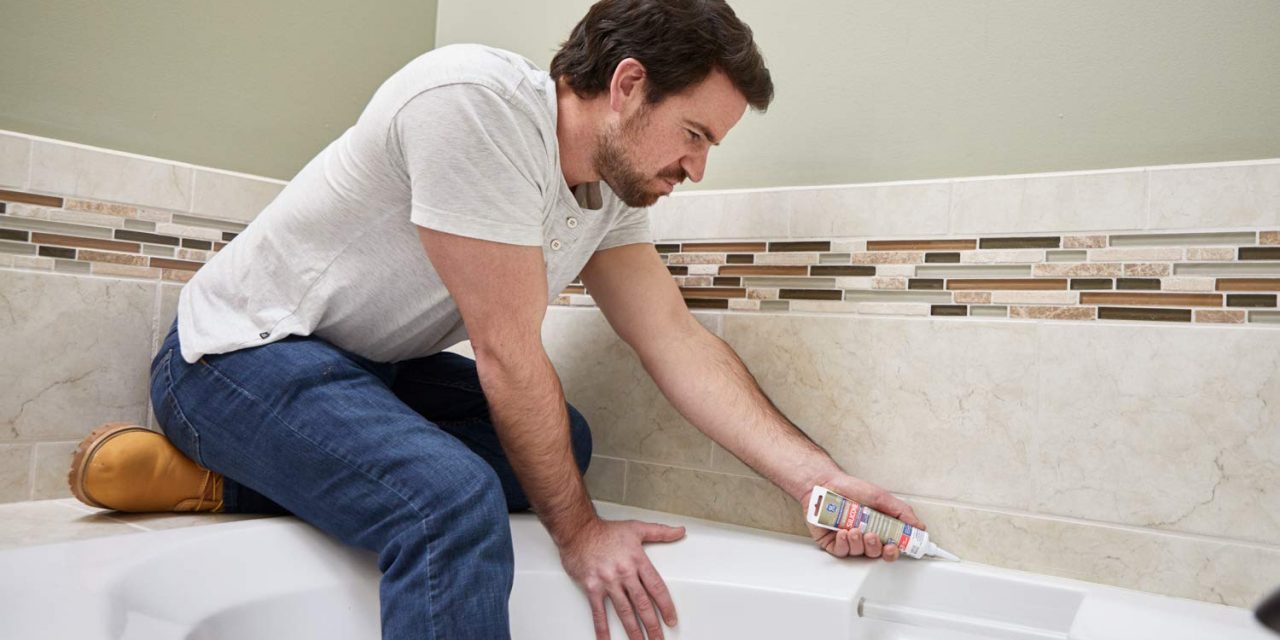
- Prepare the area you’re going to caulk. Thoroughly remove all old caulk, make sure the area is clean and fairly dry, and use painter’s tape to mask off nearby surfaces that don’t need to be caulked.
- Prepare the caulking tube. Cut off the tip and break the seal with a wire or nail. Insert into a caulking gun if you have one.
- Apply carefully. Keep the caulking tube at a 45 degree angle and apply slowly and consistently, squeezing hard enough to completely fill the joint.
- Tooling is important. After you’ve applied the caulk, you need to tool or smooth the line of caulk down. Water based caulks can be tooled with a finger. Tool solvent based caulks as well as silicone and polyurethane with a caulking tool or the back of a plastic spoon.
- Clean it up. Your caulk lines will be much easier to clean immediately after application. The best method will depend on the type of caulk.
Need to remove old caulk?
No matter the type of caulk, the removal process is relatively similar. Loosen with acetone, mineral spirits, alcohol, or an appropriate caulk remover. The method you choose depends not only on the type of caulk, but the substrate the caulk has been applied to. For more delicate materials, you’ll need to pick a more delicate solvent, like vinegar. Let sit to soften, then scrape off with a knife, razor blade, or caulk scraper. Removing butyl rubber caulk is especially difficult and may require a harsher abrasive, like steel wool, to remove completely.
A caulking gun will make your work easier
While you don’t need a caulking gun to apply caulk, for larger jobs you may want one. Applying caulk without a caulking gun can be a tiring process, especially with non-silicone caulks, and it can be difficult to get clean, professional looking lines.
Manual caulking guns are one option. These lessen the amount of force needed, but otherwise have similar problems. More difficult caulks will still be hard to apply and tool and can require a repetitive grip force of more than 20 pounds, which may be impossible for some and can hurt your hand. Manual caulking guns tend to be less than $100, and some are very affordable.
There are two main mechanisms that manual caulking guns use to dispense caulk, ratchet rods and smooth rods. Ratchet rods press forward in predefined intervals, dispensing an equal amount of caulk with each click. Smooth rod caulking guns (sometimes called ‘dripless’) use a smooth-moving, spring-loaded metal plate. Dispense as much (or as little) caulk as you like. Smooth rod caulking guns are also easier to use, requiring less hand strength to operate, but they tend to be more expensive.

Another important consideration for manual caulking guns is thrust ratio. Ranging from ratios of 3:1 to 18:1, on average, the thrust ratio determines how hard the tube is squeezed. This is importance, since different types of caulk are easier or harder to squeeze. If you’re planning on generally using water based latex caulks, you don’t need as high of a thrust ratio. But for more difficult to tool caulks, like butyl rubber, you’ll want as much thrust as you can get.
Pneumatic caulking guns are another option, especially if you have a workshop. A middle ground between manual and electric caulking guns, they don’t require charging and work with other air powered tools. They offer the price of a manual with the ease of use of an electric, but you’ll need to buy an air compressor if you don’t already have one. For both manual and pneumatic caulking guns, consider a revolving frame, especially if you need to caulk around corners.
Electric caulking guns take the squeezing out of your hands entirely. Some models even come with multiple speed options for different types of caulk, meaning you’ll only need one gun no matter what you’re trying to tool. These caulking guns are more expensive, however, averaging around $200, so they may only be worth it if you plan to caulk regularly. For the best convenience, consider a cordless or battery powered caulking gun.
Regardless of which kind of caulking gun you choose, there are some features that are always good to have. Heavier gauge (thicker) metal is almost always best, though keep in mind the overall weight of the caulking gun. A built in tip cutter means that you can easily open a new tube of caulking without an additional tool. A sausage gun is a caulking gun that is designed specifically to squeeze every bit of caulking out of the tube, cutting down on waste.
With the right caulking gun, even the largest jobs will be a breeze.
DIY caulking
Not sure where to start? We’ll help you seal the deal.
- Pick the best caulk for the job. In most cases, one caulk isn’t inherently better than another. It’s the application and the materials involved that matter most.
- Know how much you need, and remember that buying more than you need is better than not having enough, especially with cheaper caulks.
- Think about how long the caulk takes to set up. Thinking about this before application will make everything much easier.
- Tool your caulk. You’ll thank yourself later if you do it right.
- For larger jobs, consider a caulking gun.

